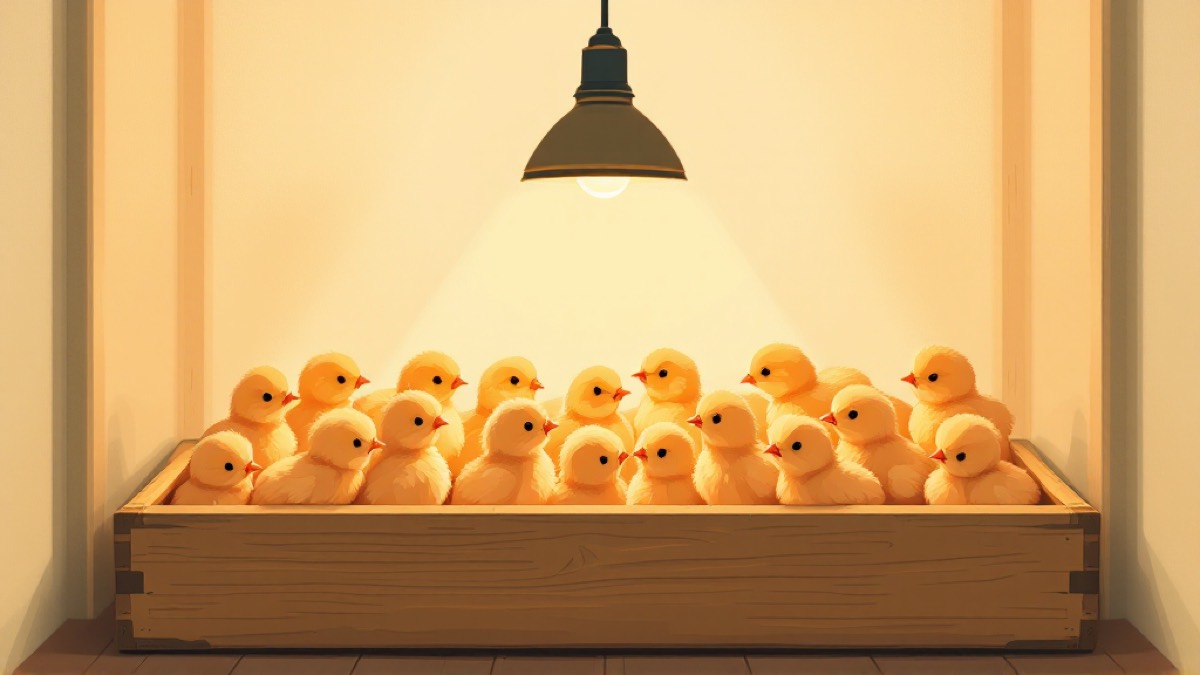
Brooder Heat: Lamps, Plates and Fire Safety
TL;DR: Heat plates are the safest brooder heat source; infrared bulbs and ceramic emitters work but must be suspended by chain or wire, never by the cord and never by the clamp alone — a fallen lamp in dry bedding is how poultry sheds burn down. Set the height by watching the chicks, not the thermometer: huddled tight means cold, pressed to the walls and panting means hot, scattered and busy means right. Have a brownout plan before you need one.
The temperature figures live in our brooding temperature for chicks guide. This one is about the equipment producing that heat, and about not burning your house down with it.
The Heat Options
| Source | How it works | Strengths | Watch out for |
|---|---|---|---|
| Radiant heat plate | Chicks huddle underneath, contact and radiant warmth | Lower surface temperature, much lower fire risk, mimics a hen, dark underneath | Higher purchase cost; chicks must be able to reach under it |
| Infrared bulb | Radiant heat from above | Cheap, widely available, easy to adjust by height | Real fire risk; bulbs fail suddenly; glass shatters if splashed |
| Ceramic heat emitter | Heat with no light | No light disturbance, long-lived | Very hot surface; needs a ceramic socket; same mounting risk |
| Broody hen | She does it | No electricity, no brownout risk, teaches the chicks | You do not control the timing — see hatching under a broody hen |
For most Philippine backyards the practical choice is between a plate and a bulb. If you can afford the plate, buy the plate.
Fire Safety: The Non-Negotiables
A heat lamp is a hot object suspended above dry bedding, running unattended for weeks. Treat it accordingly.
- Suspend it by chain or wire. Never by its own electrical cord, and never by the clamp alone. Clamps slip. Use the clamp plus an independent chain, or hang it properly.
- Nothing flammable within reach if it falls. Assume it will fall and ask what happens then.
- Check the fitting. Cheap sockets melt. A bulb this hot needs a fitting rated for it — ceramic sockets for ceramic emitters, always.
- Keep water away from the bulb. A splash on hot glass can shatter it.
- Check the cord and plug before every brooding season, and again during it. Chicks and rodents damage cords.
- Use a guard over the bulb if the design allows.
- Never run it near stored feed, sacks or dry bedding piles.
- Watch it for the first hours after setting it up, not just the first minute.
If you take one thing from this guide: the chain, not the clamp.
The Chicks Are the Thermometer
A thermometer tells you the temperature at one point. The chicks tell you whether they are comfortable, which is the actual question.
| What you see | What it means | What to do |
|---|---|---|
| Huddled tightly under the heat, cheeping loudly | Too cold | Lower the lamp or raise the output |
| Spread out against the walls, away from the heat, panting | Too hot | Raise the lamp or reduce output |
| Piled in one corner, away from the heat source | Draught from that direction | Block the draught |
| Scattered evenly, moving, eating, sleeping in loose groups | Correct | Leave it alone |
Check at night as well as in the day. Philippine afternoons and Philippine nights are very different, and a brooder that is right at noon can be cold at 3am.
Piling is an emergency. Chicks that pile in a corner smother the ones underneath. If you find piling, fix the cause immediately — cold, draught, or a corner they can pile into. Rounding the corners of a square brooder with cardboard is the classic fix.
Setting It Up
- Heat one end, not the whole brooder. Chicks must be able to move away from the heat when they want to. A uniformly heated box gives them nowhere to go.
- Feed and water at the cooler end, so they are not eating under the lamp.
- Turn it on hours before the chicks arrive so the bedding is warm, not just the air.
- Round off the corners to prevent piling.
- Use a red bulb if you are using a bulb — the dimmer light is calmer and reduces pecking.
- Have a spare bulb. They fail without warning, usually overnight.
The rest of the setup is in how to brood chicks and brooder box design.
The Brownout Plan
Have one before you need it.
- Close the brooder down. A lid, a blanket over the top (not touching a hot bulb), and reduced open area conserve heat.
- Move it to the warmest interior room.
- Block draughts completely.
- Covered hot water containers — a sealed bottle wrapped in cloth — give temporary radiant heat. Wrapped so chicks cannot contact hot surfaces, and replaced as they cool.
- Do not leave chicks unattended in a cold brooder. Piling kills quickly.
- Consider fewer, better-insulated brooders rather than one large draughty one, if outages are routine where you are.
And the honest alternative: a broody hen does not care about the power grid at all.
Coming Off Heat
Reduce gradually rather than switching off.
In Philippine conditions chicks generally need supplementary heat for a shorter period than temperate guides assume, because ambient temperature does much of the work. The signals are the same ones as always: chicks that ignore the heat source entirely, are properly feathered, and are comfortable at night without it.
Raise the lamp or reduce output step by step over days, watching behaviour at night each time. See brooding temperature for chicks for the week-by-week picture and how to keep chicks warm without a heat lamp for the low-power options.
The Honest Limits Here
The behavioural signs of chick comfort — huddling, spreading, piling — are standard brooding practice and are more reliable than any single thermometer reading. The fire-safety points reflect how heat lamps actually fail: clamps slipping, cords damaged, bulbs shattering. This guide gives no wattages and no lamp heights, because the right figures depend on the bulb, the brooder size, the ambient temperature and the number of chicks — the chicks’ behaviour is the setting instruction. Follow the manufacturer’s instructions for any heat plate or emitter, and if you are unsure about the electrical installation, have someone competent check it.
Related: how to brood chicks, brooding temperature for chicks, brooder box design, chick mortality causes.
Frequently Asked Questions
What heat source is best for brooding chicks?
A radiant heat plate that the chicks huddle under is generally the safest option, since it runs at a lower surface temperature and cannot ignite bedding the way a suspended bulb can. Infrared bulbs and ceramic emitters also work and demand more care with mounting.
How do I know if the brooder is the right temperature?
Watch the chicks, not the thermometer. Huddled tightly under the heat means too cold; spread against the walls and panting means too hot; scattered evenly and moving around normally means correct.
How should a heat lamp be secured?
Suspended by a chain or wire, never by its own electrical cord, and never by the clamp alone. Clamps slip. A lamp falling into dry bedding is the standard route to a shed fire.
Do chicks need heat at night only?
They need it around the clock at first, and the requirement reduces as they feather. Nights are when the risk of chilling is highest, so heat is never switched off overnight during the brooding period.
What do I do during a brownout?
Close the brooder down to conserve heat, add insulation around it, keep it out of draughts, and use a covered hot water container as a temporary heat source if the outage runs long. Do not let chicks pile up in a corner unattended.
Can I use a red bulb instead of a white one?
Red bulbs are widely used because the dimmer light is calmer for chicks and makes pecking injuries less likely. The heat is what matters; the colour affects behaviour.
When can chicks come off heat?
When they are properly feathered and the ambient temperature is warm enough for them, which in most Philippine conditions comes sooner than in temperate guides. Reduce heat gradually rather than removing it in one step.