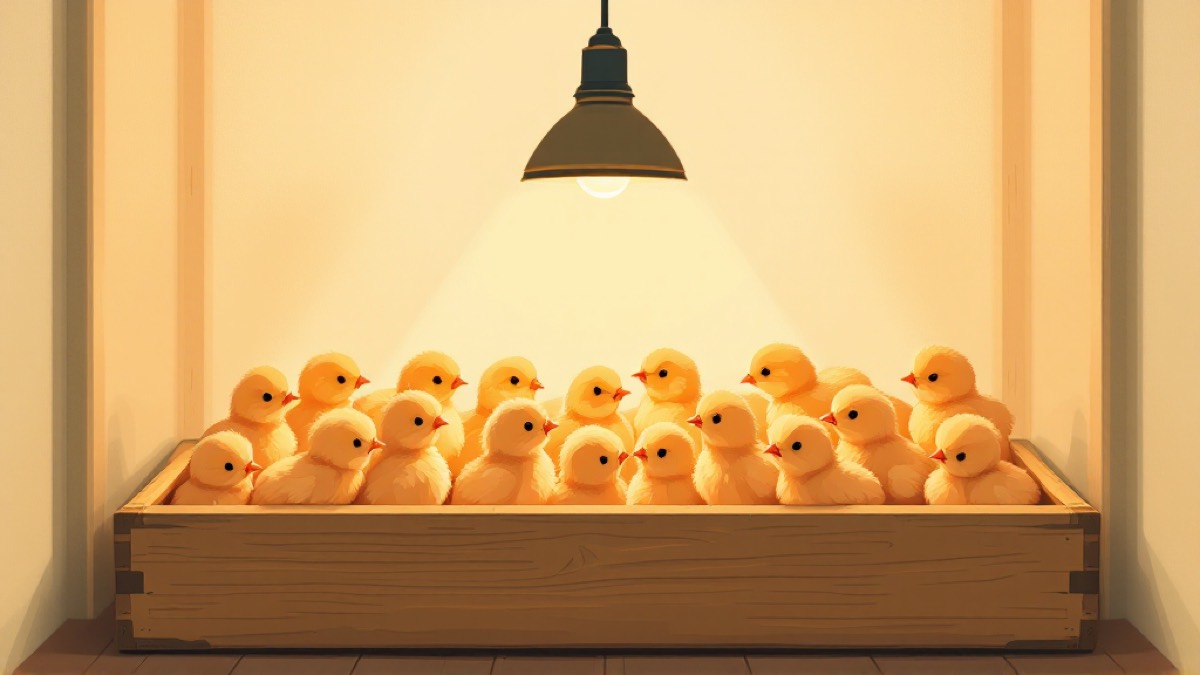
Brooder Box Design for a Philippine Backyard
TL;DR: A brooder box needs four things: a draft-free, predator-proof container with enough floor space, a controllable heat source, absorbent non-slip bedding, and a secure cover. All four are buildable from materials commonly available in a Philippine backyard — a repurposed container, a heat lamp, rice hull or shavings, and mesh or wire for the top — without needing anything imported or expensive.
What Does a Brooder Box Actually Need to Do?
A brooder box has one job: hold a stable, controllable temperature at chick level while keeping chicks dry, predator-safe, and able to reach feed and water easily. Everything about the design — container choice, heat source placement, bedding, cover — serves that one job, and a brooder that fails at any one of them puts chicks at real risk regardless of how good the rest of the setup is.
This guide covers what’s realistic to build from what’s actually available in a typical Philippine backyard, not a shopping list assuming access to specialty poultry equipment. For the temperature schedule this box needs to maintain, see our brooding temperature guide; for the full week-by-week routine, see our how to brood chicks pillar.
What Can You Use as the Container?
Almost any container that holds heat evenly, keeps out drafts, and can be secured against predators works as a brooder — the material matters less than those three properties. Common, realistic options for a Philippine backyard include:
| Option | Notes |
|---|---|
| Large wooden crate or box | Sturdy and reusable across batches; check for gaps between boards |
| Repurposed appliance box (cardboard) | Cheap and available, but needs a liner or replacement once it gets damp — cardboard loses structure fast in humidity |
| Plastic storage tub | Easy to clean and disinfect between batches; needs ventilation holes if sides are solid |
| Bamboo-framed pen with mesh or wire sides | Common in backyard gamefowl setups already; needs a solid or covered base to hold bedding and heat |
Whatever you choose, size it generously enough that you can partition it smaller for a young batch and open it up as chicks grow, rather than building to the exact size of a day-old batch and needing a second build a few weeks later.
Where Should the Heat Source Go?
Place the heat source at one end or corner of the brooder, not centered evenly across the whole floor, so chicks have both a warm zone directly under it and a cooler zone further away to move into if they’re too warm. This single design choice — giving chicks somewhere to go — does more to prevent overheating than any precise wattage calculation.
A heat lamp with a bulb is the most common setup, and you control the actual temperature at chick level mainly by adjusting how far the lamp hangs above the floor, not just by the bulb’s rated wattage. Since this guide can’t verify current Philippine prices or specific brand names for heat lamps and bulbs, check what’s available at your local agrivet or hardware supplier and confirm the fixture is rated safely for continuous use — a heat source that’s meant to run for hours at a stretch needs to be secured so it can’t fall into the bedding.
What Bedding Should You Use?
Use absorbent, dry, non-slippery bedding — rice hull (ipa), wood shavings, or shredded paper are all workable options, while smooth surfaces like flattened newspaper or bare cardboard should be avoided because chicks can’t get good footing on them, which can lead to leg problems in the first week or two. Bedding also needs to stay dry; wet, caked bedding is both a chill risk and a disease risk, the same problem that makes damp coop flooring a driver of issues like coccidiosis in older birds.
Change or top up bedding regularly rather than waiting until it’s visibly soiled — a brooder holding a small number of chicks in a tight space concentrates droppings fast compared to a full-size coop. Our guide on cleaning and disinfecting a chicken coop covers the same hygiene principles that apply here at a smaller scale.
How Do You Predator-Proof a Brooder?
Predator-proofing means no gaps a rat, cat, or snake can exploit, a secure lid or cover especially overnight, and elevation off the ground where that’s practical, since chicks have no ability to defend themselves and a single unsecured gap is enough to lose part of a batch in one night. This is not a place to assume “probably fine” — check the brooder at chick height specifically, since a gap too small for an adult hand can still be wide enough for a rat.
- Check every seam and corner for gaps, not just the obvious openings.
- Cover the top with mesh or wire, especially once chicks are active enough to hop or flutter partway out.
- Elevate the brooder off bare ground where you can, which helps against both rats and dampness rising from the floor.
- Keep the brooder in a location with foot traffic or a dog nearby if possible — a brooder in a quiet, unsupervised corner of the property is a more attractive target.
This connects directly to flock biosecurity more broadly — a predator-secure brooder is one part of the same discipline that keeps disease and pests out of a flock generally.
How Big Should the Brooder Be?
Size the brooder to standard space guidance — roughly 0.5 square foot per chick for the first couple of weeks, growing to about 1 square foot per chick by week 4-6 — and build in a way that lets that usable floor area expand as the batch grows rather than starting chicks in their full-size final space. A large container partitioned down with a cardboard divider for week 1, then opened up gradually, solves this without needing multiple separate builds.
An oversized brooder for a small, young batch spreads the heat source’s warmth too thin, leaving chicks at the edges chilled even if the reading near the heat source looks correct. Undersized space causes overcrowding, piling, and faster-fouling bedding. Neither extreme is safe, which is why sizing to the batch — and adjusting as it grows — matters more than picking one fixed container size and using it for the whole 5-6 weeks.
What’s the Simple Materials Checklist?
| Need | Backyard-realistic option |
|---|---|
| Container | Wooden crate, lined appliance box, plastic tub, or bamboo-framed pen |
| Heat source | Heat lamp with bulb, hung and adjustable by height |
| Bedding | Rice hull (ipa), wood shavings, or shredded paper |
| Cover / predator-proofing | Mesh or wire top, sealed seams, elevation off the ground |
| Feeder and waterer | Chick-sized versions to prevent drowning and spillage |
This guide deliberately doesn’t attach peso prices to any of these, since costs shift by supplier, region, and season, and an outdated number is worse than no number. Price out your specific options locally rather than relying on a figure that may already be stale by the time you read this.
When Does the Brooder Stop Being Needed?
The brooder is needed until chicks are fully feathered and off supplemental heat, typically around week 5-6, at which point they move to grow-out housing rather than an adult coop directly. If you’re planning that next stage, see our guides on chicken coop design for Philippine backyards and chicken coop ventilation for what changes once chicks graduate from the brooder to permanent housing.
The Honest Limits Here
This guide describes the design principles a brooder needs to meet — heat, dryness, predator-proofing, adjustable space — using materials realistically available in a Philippine backyard. It deliberately does not name specific brands, give peso prices for heat lamps or containers, or claim one exact container size fits every batch, because those details change by supplier, season, and region in ways this guide can’t verify or keep current. Use the principles here to evaluate whatever materials you actually have on hand, rather than treating any single listed option as the only correct choice.
This is the last piece of the brooding-chicks series. Start from how to brood chicks for the full week-by-week plan, or go back further to how to incubate chicken eggs and candling eggs if you’re starting from fertile eggs rather than purchased chicks.
Frequently Asked Questions
What can I use as a brooder box?
Almost any draft-free, predator-proof container with enough floor space works — a large wooden crate, a repurposed appliance box lined against dampness, a plastic storage tub, or a bamboo-framed pen with mesh sides. The container matters less than whether it holds heat evenly and keeps predators out.
What should I use for a heat source?
A heat lamp with a bulb is the most common option and lets you adjust temperature by changing the distance from the chicks. Whatever source you use, the key requirement is that it holds a stable temperature and that chicks have room to move away from it if they get too warm.
What bedding is best for a brooder?
Absorbent, dry bedding that is not slippery — rice hull (ipa), wood shavings, or shredded paper all work. Avoid smooth surfaces like plain newspaper or cardboard, which can cause leg problems in young chicks who cannot get good footing.
How do I predator-proof a brooder?
Solid or mesh walls with no gaps a rat can fit through, a secure lid or cover especially at night, and elevation off the ground where possible to deter rats and snakes. Chicks are defenseless, and a single unsecured gap is enough for a serious loss.
Do I need a thermometer for my brooder?
It helps but is not strictly required if you read chick behavior closely — piling means too cold, panting and spreading to the edges means too hot. A thermometer gives you a second data point, not a replacement for watching the chicks.
How do I resize the brooder as chicks grow?
Build in a way that lets you expand usable floor space over time, either with a larger container from the start partitioned down with a cardboard divider, or by moving chicks to a bigger setup around week 3-4 as they need more room.
Can I brood chicks in a kulungan or coop instead of an indoor brooder?
Only if it can be made fully draft-free and predator-secure at chick level and you can control the heat source reliably — most permanent coops are not built tight enough for very young chicks and work better as the next stage after brooding.